User Management
The User Management feature in Burq allows administrators to manage access and permissions within the system. It provides a centralized way to create, view, update, and control user accounts. This ensures secure collaboration while maintaining role-based access to critical functionalities.
From the Settings > Users section, you can:
- View all registered users.
- Manage their roles and permissions.
- Enable or disable accounts.
- Edit or delete user information.
- Create new users and assign roles.

Key Features
User Table Overview
The main Users tab displays all existing users in a tabular format with the following details:
- Name → Full name of the user.
- User Name → Unique system username.
- Email → Registered email address.
- Status → Indicates if the account is Enabled (active) or Disabled (inactive).
- Email Verified → Confirms if the user’s email is verified.
- Role → Assigned role (Administrator, Basic, ReadOnly, etc.).
- Actions → Quick tools for managing the user.
User Actions
In the Actions column, several controls are available for managing users:
- Edit → Update user details (e.g., name, email, role).
- Disable/Enable → Temporarily revoke or restore user access.
- Delete → Permanently remove the user from the system.
These actions allow administrators to maintain proper account hygiene and ensure only authorized users have access.
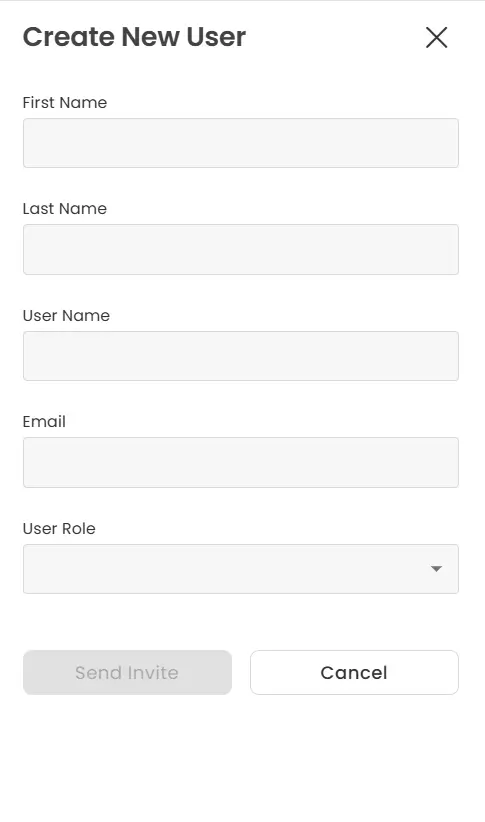
Creating a New User
To add a new user, click “Create new User” on the Users page and fill the following fields:
- First Name → Enter the user’s first name.
- Last Name → Enter the user’s last name.
- User Name → Assign a unique username.
- Email → Provide the user’s email address.
- User Role → Choose from available roles (e.g., Administrator, Basic, ReadOnly).
Once the details are filled, click Send Invite to invite the user via email.