

Shopify Connector
This document describes how to set up and use the Shopify connector in Burq. The connector allows you to authenticate your Shopify store and perform operations (e.g. read orders, products, customers) via Shopify’s REST or GraphQL APIs.

Create a New Shopify Connection
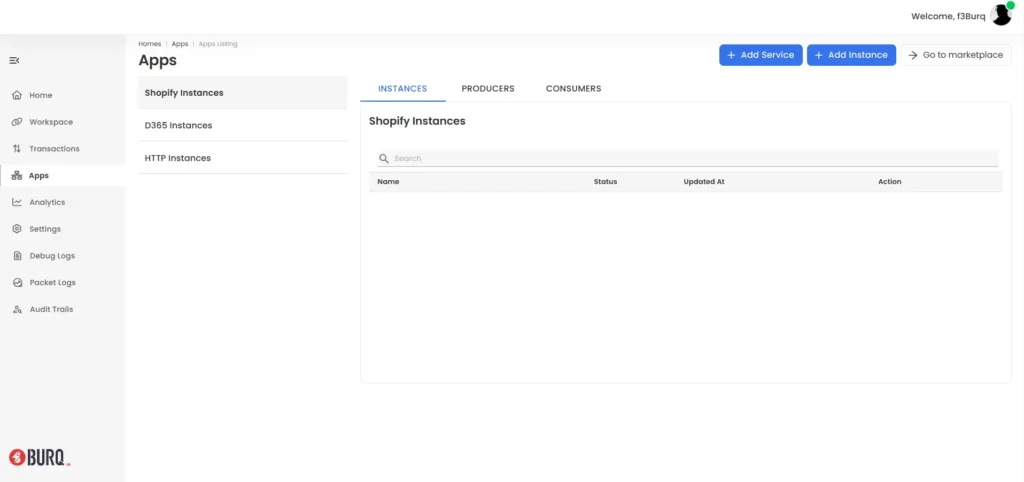
- Navigate to: Apps → Shopify in the Burq dashboard
- From the top right corner click ‘Add Instance’ and enter a name for your connection
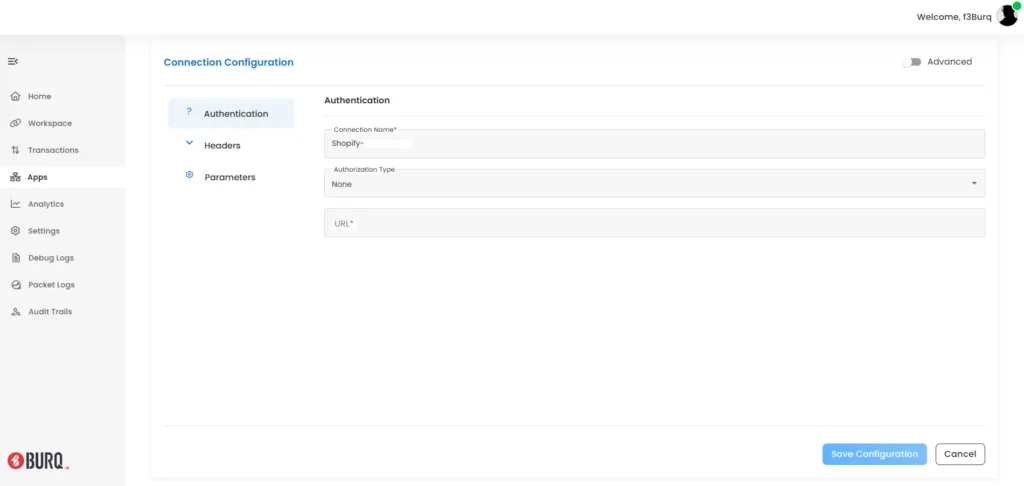
- Edit the new instance’s configuration and provide the following fields
- Connection Name – Enter a user-friendly name for your Shopify connection.
- Authorization Type – Set to None. Shopify Admin API does not use OAuth for server-to-server communication.
- URL – Enter your Shopify store domain
- Access Token – Enter the X-Shopify-Access-Token generated from the
- Private/Custom App in your Shopify store. This token will be included as a header in all API requests for authentication.
Use the Shopify Connection in a Dataflow
Once Shopify is connected/authorized, you can use it within workflows:
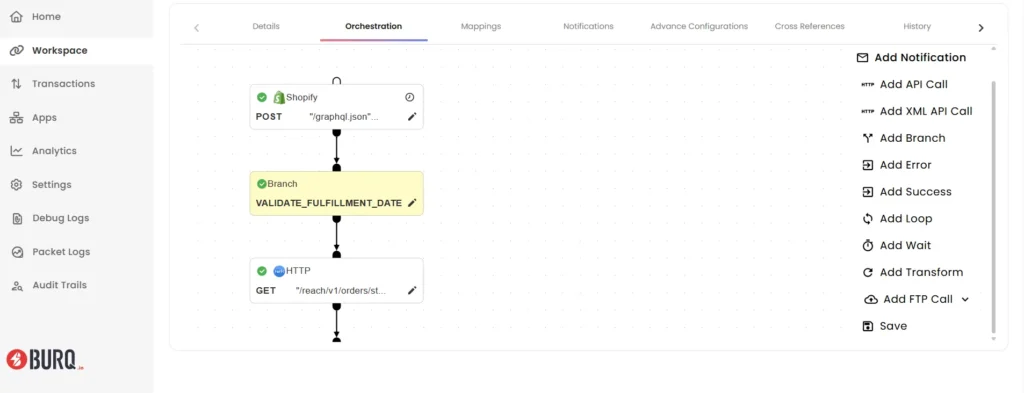
- Go to Workspace → Dataflow → Orchestration
- Drag a Shopify step (REST or GraphQL) into the workflow canvas
- Select the Shopify connection you created
- Configure the request by clicking the pencil icon
- Map connection, input and output fields as per your integration logic.
- Save and run your workflow.