

Microsoft Dynamics 365 Connector
In Burq, the Microsoft Dynamics 365 connector allows you to securely connect with Dynamics 365 CRM or ERP instances and automate data synchronization between systems. This section explains how to create a new Dynamics 365 connection and use it inside a workflow.

Create a New Microsoft Dynamics 365 Connection
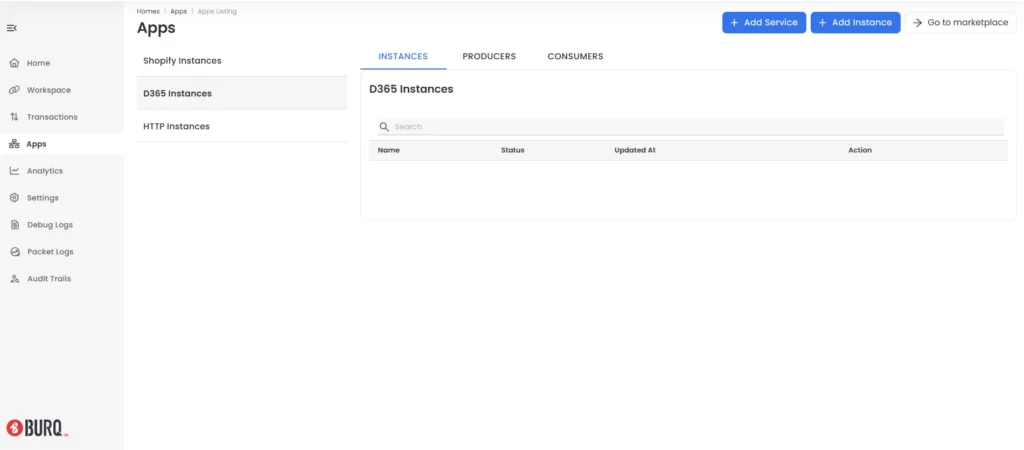
- Navigate to Apps → Microsoft Dynamics 365 from the Burq dashboard.
- From the top right corner click ‘Add Instance’ and enter a name for your connection
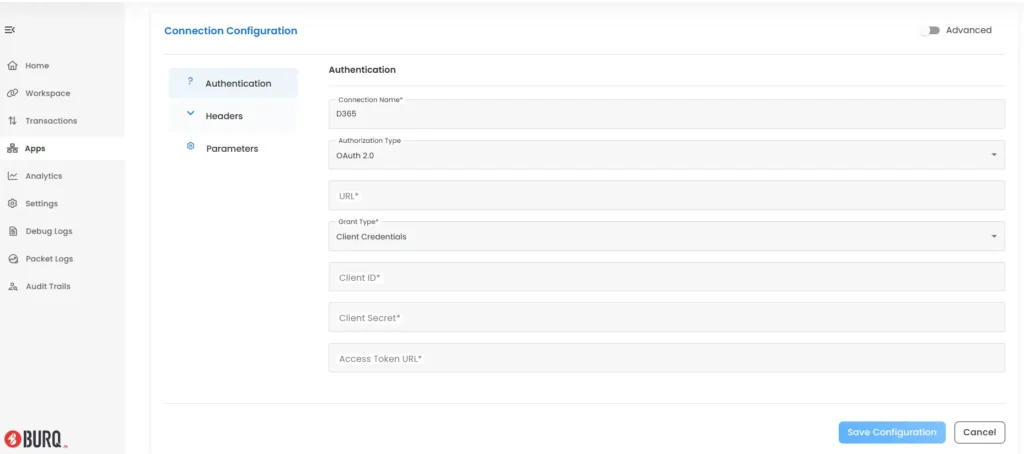
- Click Edit beside your instance and configure the following fields:
- Connection Name – Provide a user-friendly name for your Dynamics 365 connection.
- Authorization Type – Select OAuth 2.0 for secure authentication via Microsoft Entra ID (formerly Azure Active Directory).
- Grant Type – Select Client Credentials. This flow allows Burq to authenticate as a registered Azure AD application without requiring user login.
- Client ID – Enter the Application (Client) ID from your Azure AD app registration.
- Client Secret – Enter the secret value generated for your Azure AD app.
- Access Token URL – Enter the token endpoint for your Azure tenant
- Once all fields are configured, click Save to store your connection
Use the Connection in a Dataflow
Once your Dynamics 365 connection is authorized, you can use it within workflows to integrate CRM or ERP data.
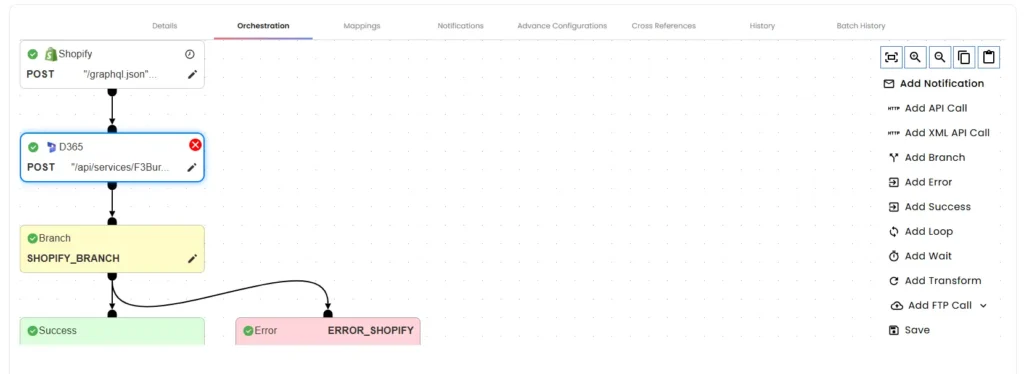
- Navigate to Workspace → Dataflow → Orchestration.
- Add a Microsoft Dynamics 365 step into your workflow.
- Select the Dynamics 365 connection you created.
- Configure the request by clicking the pencil icon
- Map connection, input and output fields as per your integration logic.
- Save and run your workflow.