

SFTP Connections
In Burq, you can use the SFTP connector to securely transfer files between Burq and an external SFTP server. This section explains how to create an SFTP connection and use it inside a workflow.

Create a New SFTP Connection
- Navigate to: Apps → SFTP from the Burq dashboard.
- Click Add Instance and provide a name for your connection.
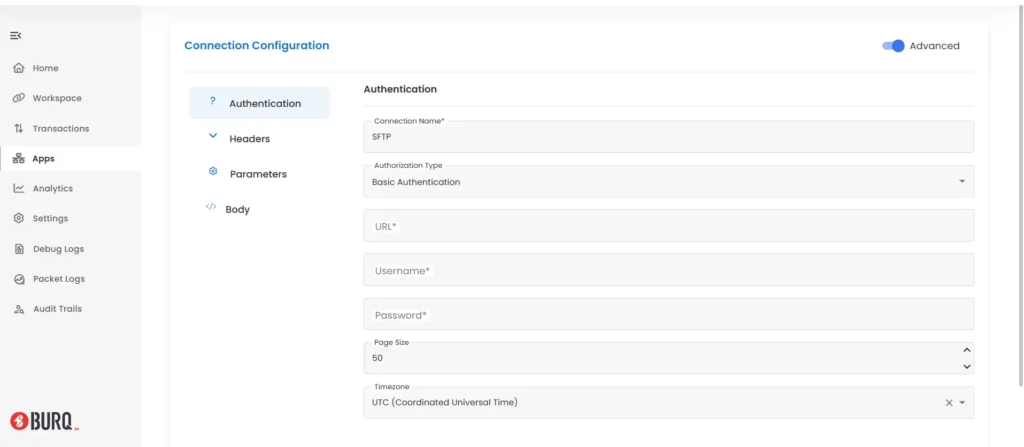
- Configure the following fields (click Edit beside your instance):
- Connection Name → A name for your connection
- Authorization Type → Select Basic Authentication (SFTP supports username/password authentication).
- URL → Enter the SFTP server address.
- Username → Your SFTP account username.
- Password → The password associated with your SFTP account.
- Page Size → (Optional) Default is 50. This determines the number of records or files fetched per page in listing operations.
- Timezone → Choose the appropriate timezone (default: UTC).
- Click Save to store your connection.
Use the Connection in a Dataflow
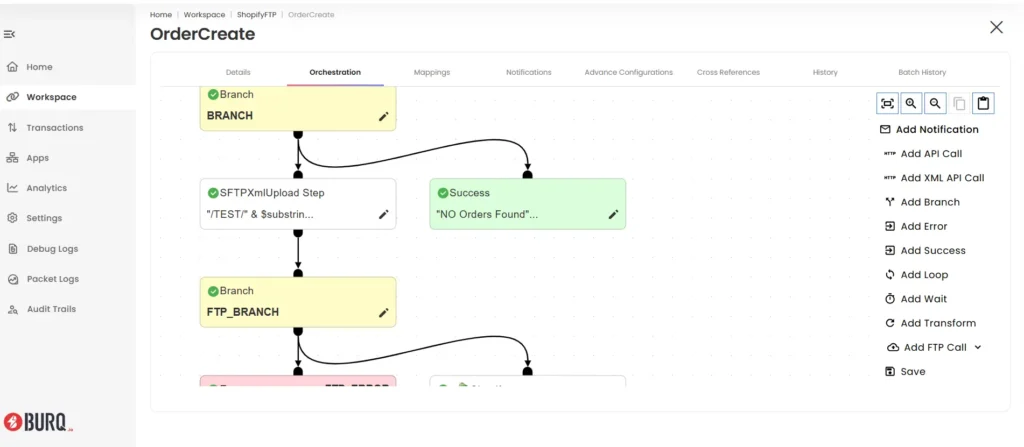
Once your SFTP connection is created, you can use it within a workflow to upload, download, or manage files.
- Go to Workspace → Dataflow → Orchestration.
- Add SFTP into your workflow.
- Select the SFTP connection you created.
- Configure the operation based on your requirement.